11.2.1. Netlist fragments, models, and the project file
The first step in setting a new project is to create a folder that will hold all of the project’s files. After the directory is created we change into it.
mkdir evaluation
cd evaluation
Next, we are going to copy the MOS models (cmos180n.lib), and the
netlist fragments (miller.inc, mosmm.inc, topdc.inc, and
toprr.inc) to the newly created folder. The explanation of these
files can be found in section Simulator input files (Spice Opus) of the Miller
opamp design demo.
Now the files are ready and we can start the GUI.
pyog miller.pog
The GUI window pops up. Now we can set up the project. In the GUI window we can add some comments under the “information” node of the project.
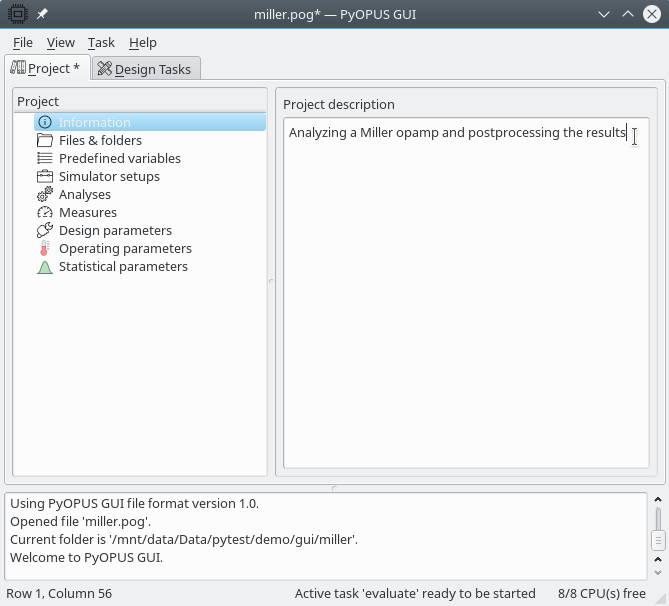
Adding a comment to the project.
Next, we are going to add the input files to the project. This is neccessary
because when a task wil be started a task folder will be created
and these files will be copied there. If the GUI does not know of a file that
is needed by the simulator this file will be missing and the simulator will
fail. Files can be added by right-clicking the “Files & Folders” tree node
and selecting “Add item after” in the context menu. An alternative approach is
to select the “Files & folders” tree node and adding a new row to the table
in the right half of the Project tab. This can be achieved by right-clicking
on the table and selecting the “Add row after” option in the context menu.
Adding new items in trees and tables after a seelcted item/row is a common
operating and it makes sense to remember the shortcut which is
Ctrl+Return.
As soon as you add a file the GUI will check if it exists and display this information in the table. You can also add complete folders. This comes handy if your device models come in multiple files. You simply pot them in a subfolder and add it to the project.
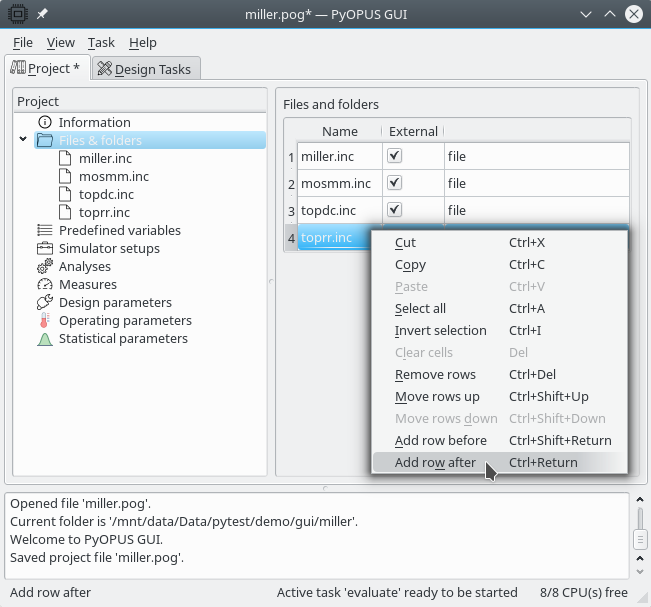
Adding files and folders to the project.
By default files and folders are assumed to be external. If you uncheck the external option the item is assumed to be a file that is specified as part of the procject. Such files can be edited by selecting their entry in the project tree. They are dumped to the task folder when a design task is started.
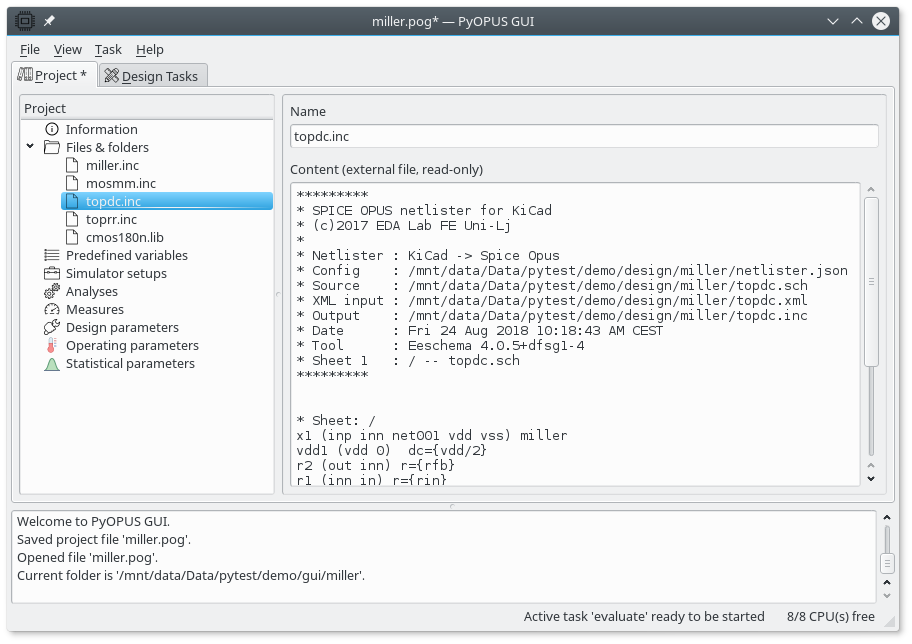
Viewing external files in the GUI.
If you select an entry in the project tree corresponding an external file or folder its contents will be displayed, but you won’t be able to edit it.
Note that it is good practice to save the project from time to time by
selecting File/Save in the main menu (or pressing Ctrl+S).